Learning Git in the terminal can be intimidating, especially for beginners who are unsure of command usage and are worried about breaking their remote branches. Many people end up relying on visual IDEs such as Visual Studio Code’s built-in Git or programs like GitHub Desktop. However, there is a fantastic gateway into using the terminal for Git operations called Lazygit. In this blog post, we’ll explore Lazygit and show you how it can make learning terminal commands a breeze.
What is Lazygit?
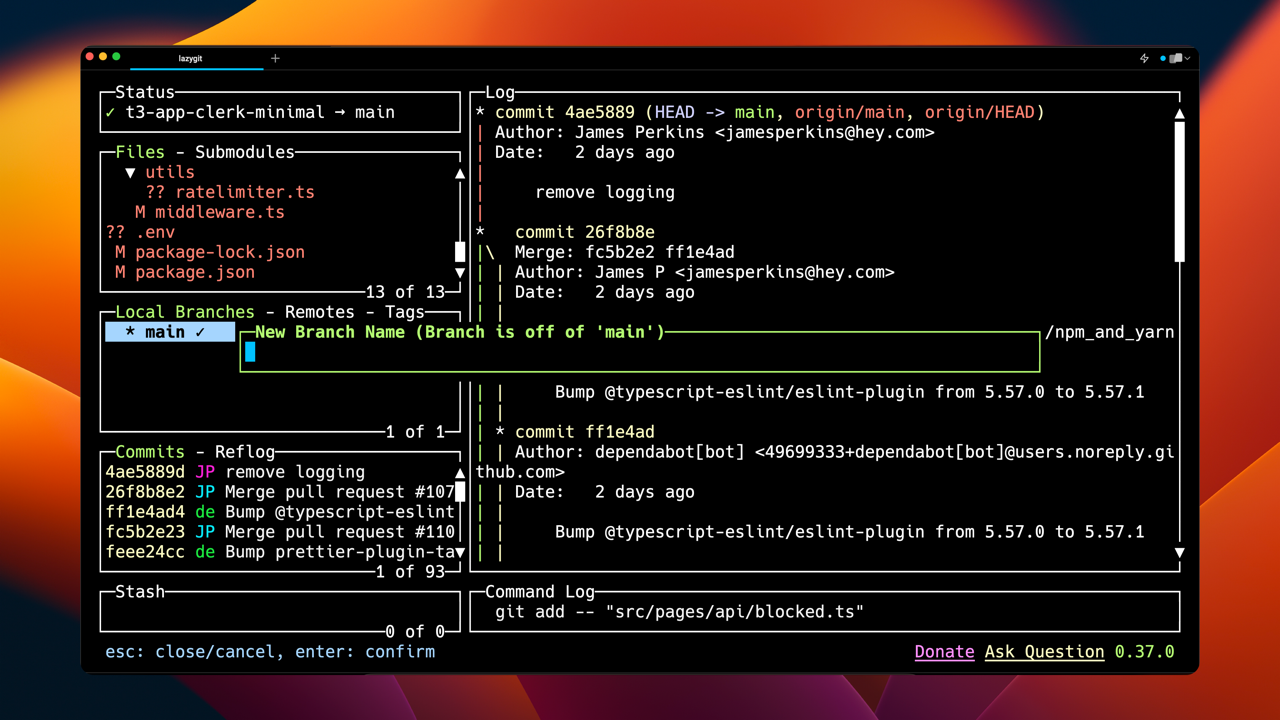
Lazygit is a command-line Git UI that presents users with an easy-to-understand interface, allowing them to manage their repositories without needing extensive terminal knowledge. Lazygit allows you to see the commands as they’re being executed, which helps you learn the commands in the future. Furthermore, Lazygit brings a plethora of functionality into a single terminal experience, with simple one-key commands for everyday use. The best part is that Lazygit is available on all major platforms: Mac, Windows, and Linux.
Find out how to install Lazygit here.
Getting Started with Lazygit
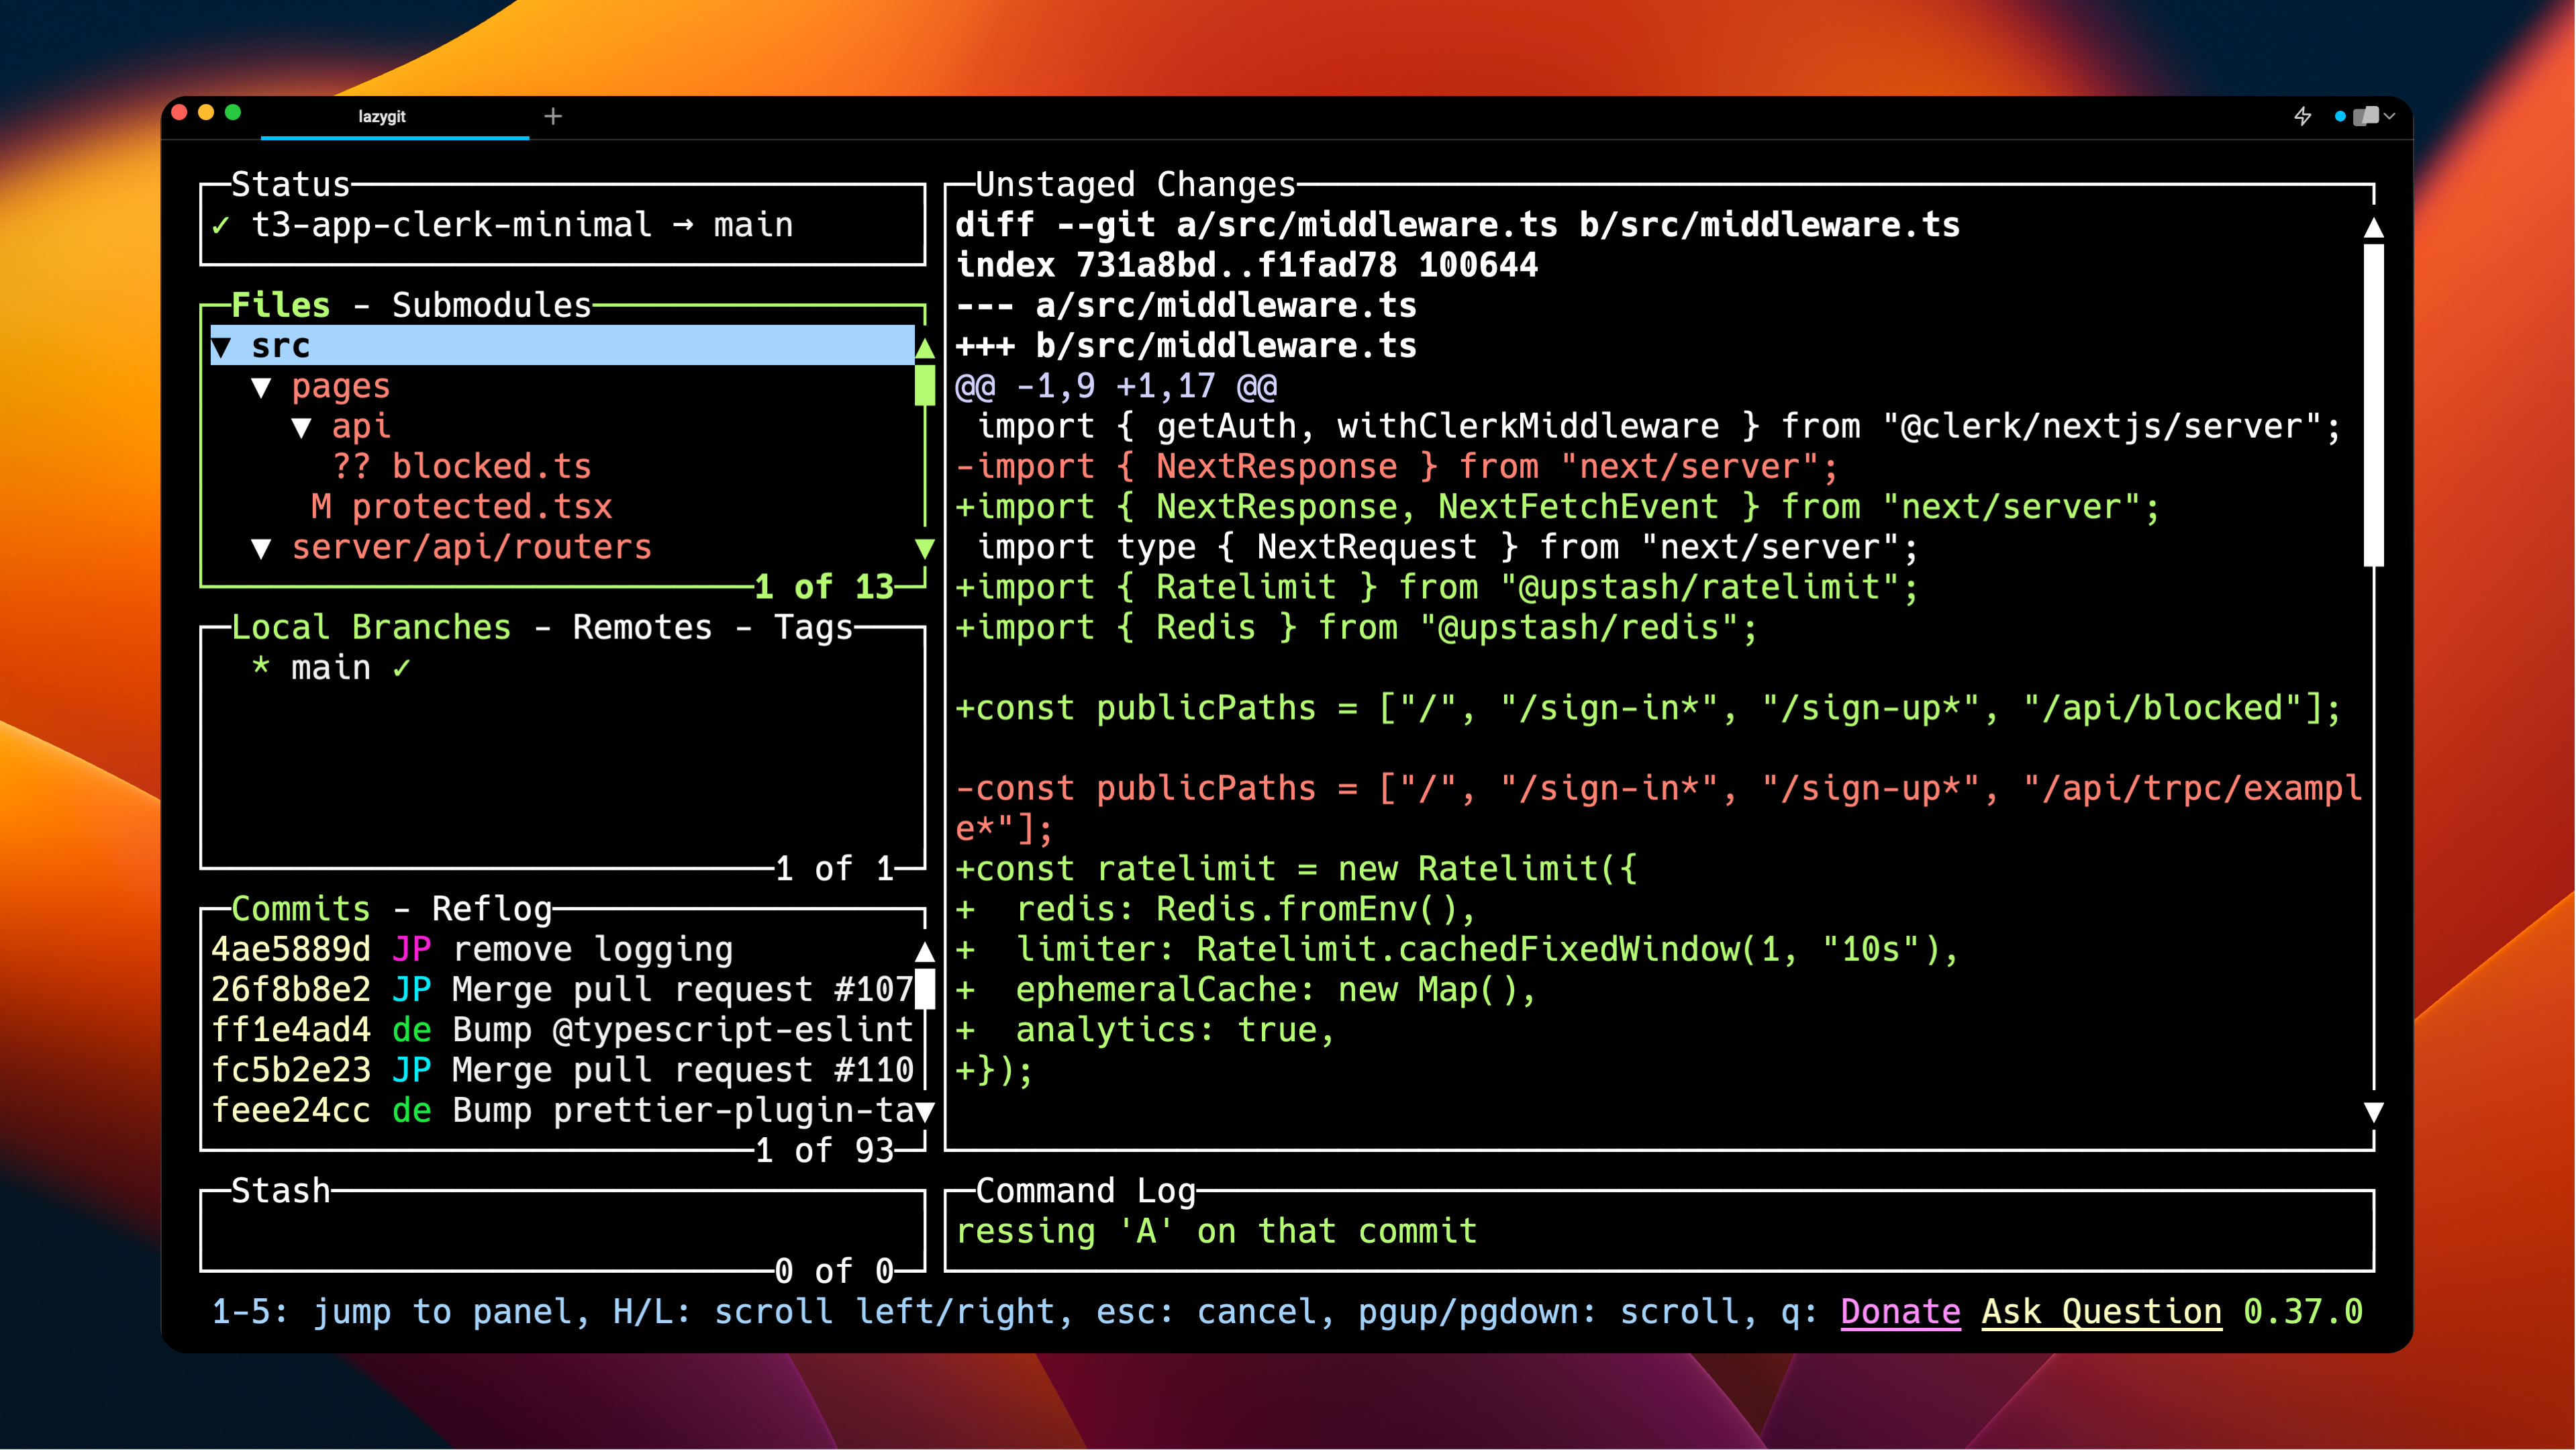
Once Lazygit is installed, open a new terminal window and type in lazygit. Lazygit will load and present you with an interface consisting of multiple panels surrounding the command log and status panels. You can navigate through these panels using number keys:
1: Status panel2: Files panel3: Branches panel4: Commits panel5: Stash panel
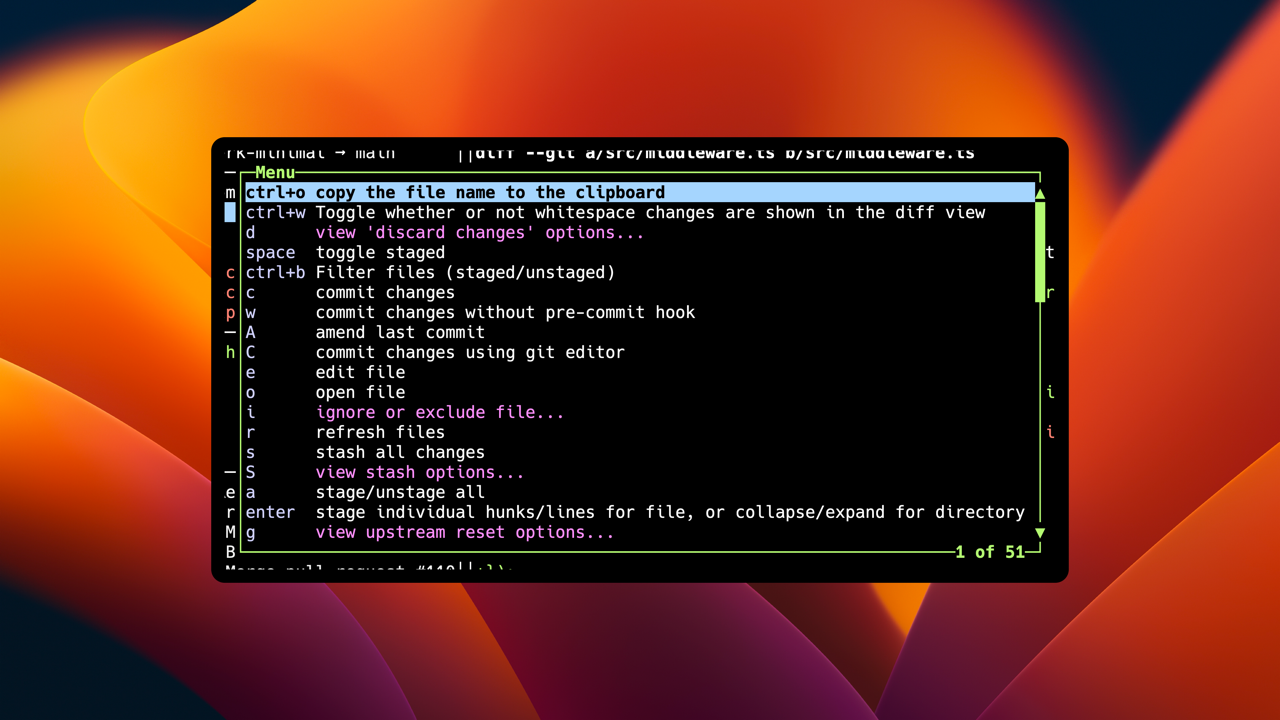
Additionally, Lazygit offers an interactive menu that you can access by pressing x. This menu displays all available actions for the selected panel.
Sample Workflow with Lazygit
To demonstrate the effectiveness of Lazygit, we’ll walk through a basic Git workflow using this tool.
Staging and Committing Changes
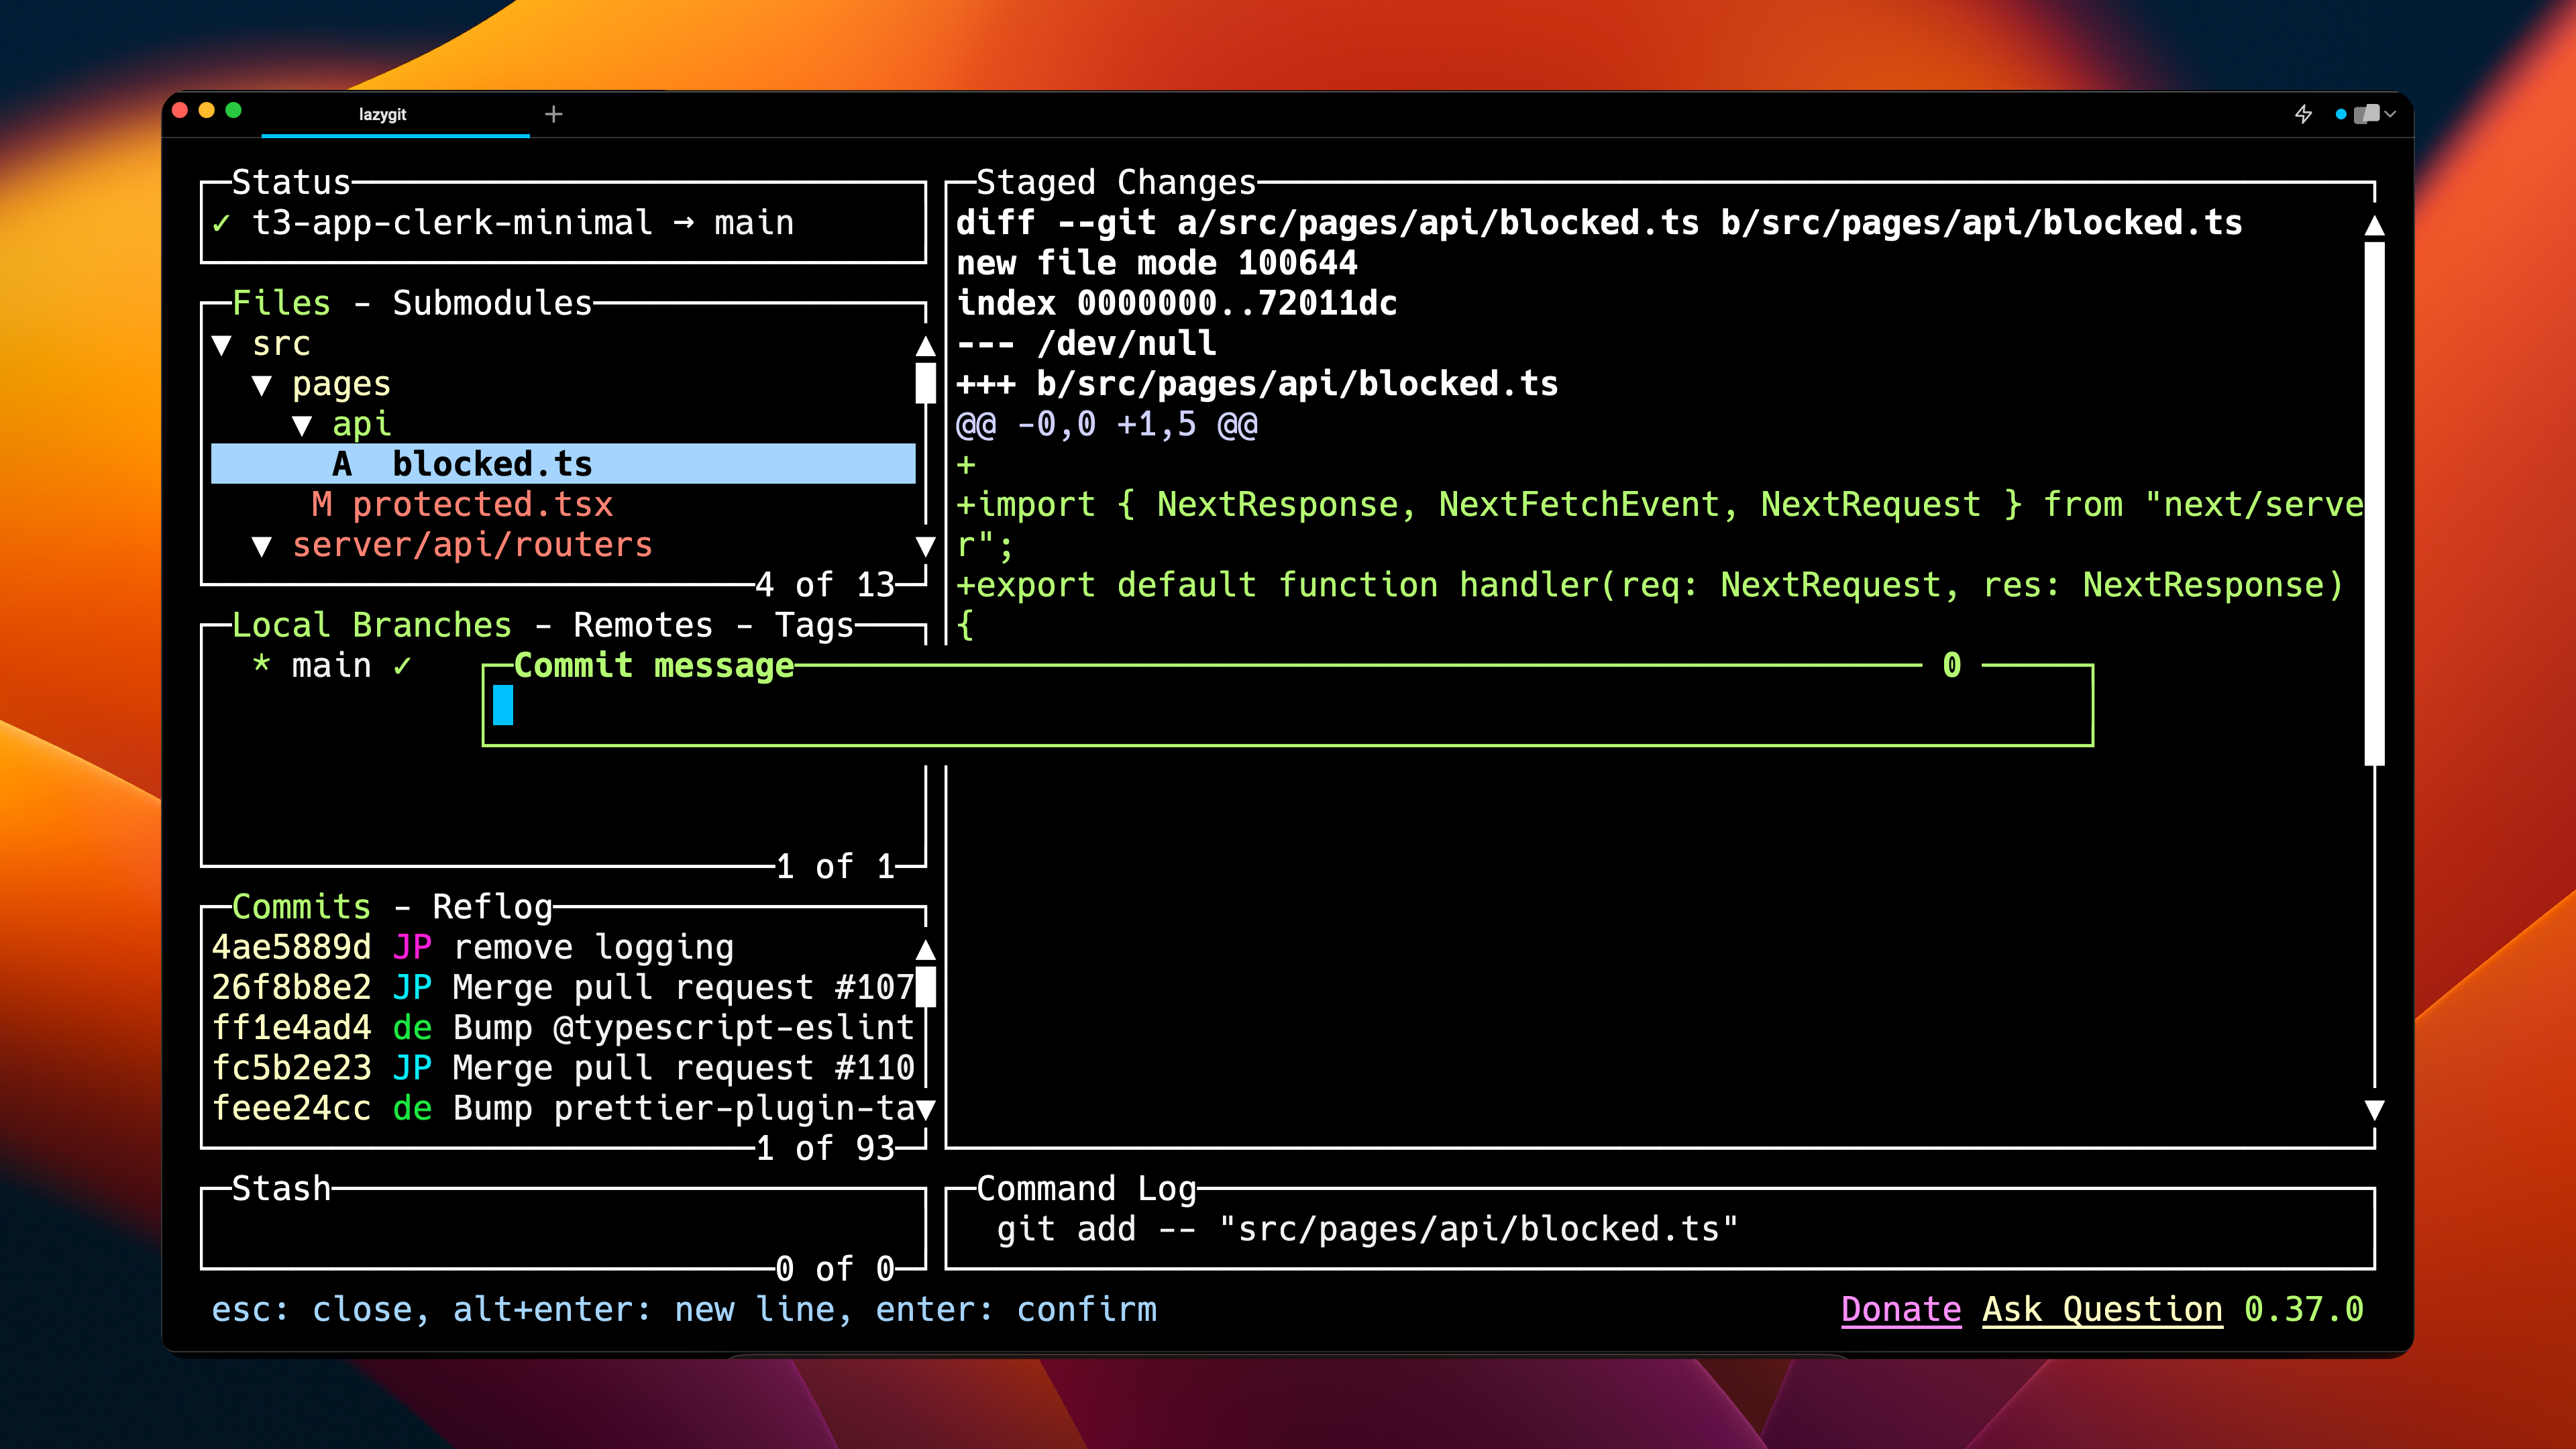
Navigate to the files panel by pressing 2. To stage a file for commit, simply hit the space bar on the desired file. The command log will display the git add command carried out in the bottom right corner.

To commit the staged changes, press c. You’ll be prompted for a commit message. Type in the message and press Enter.
The commit will now appear in the commits panel (Press 4 to access).
Pushing and Pulling Changes
To push your commit to the remote branch, press shift + p. The command will be executed and displayed in the bottom panel as well as the command log.
To fetch from your remote branch, press f or select “Fetch” from the interactive menu.
Reverting and Ignoring Files
Mistakes happen, and luckily, Lazygit makes it easy to revert changes. With a commit selected, press t to revert. A new commit, indicating the revert, will be created. Push the commit to the remote branch as previously shown.
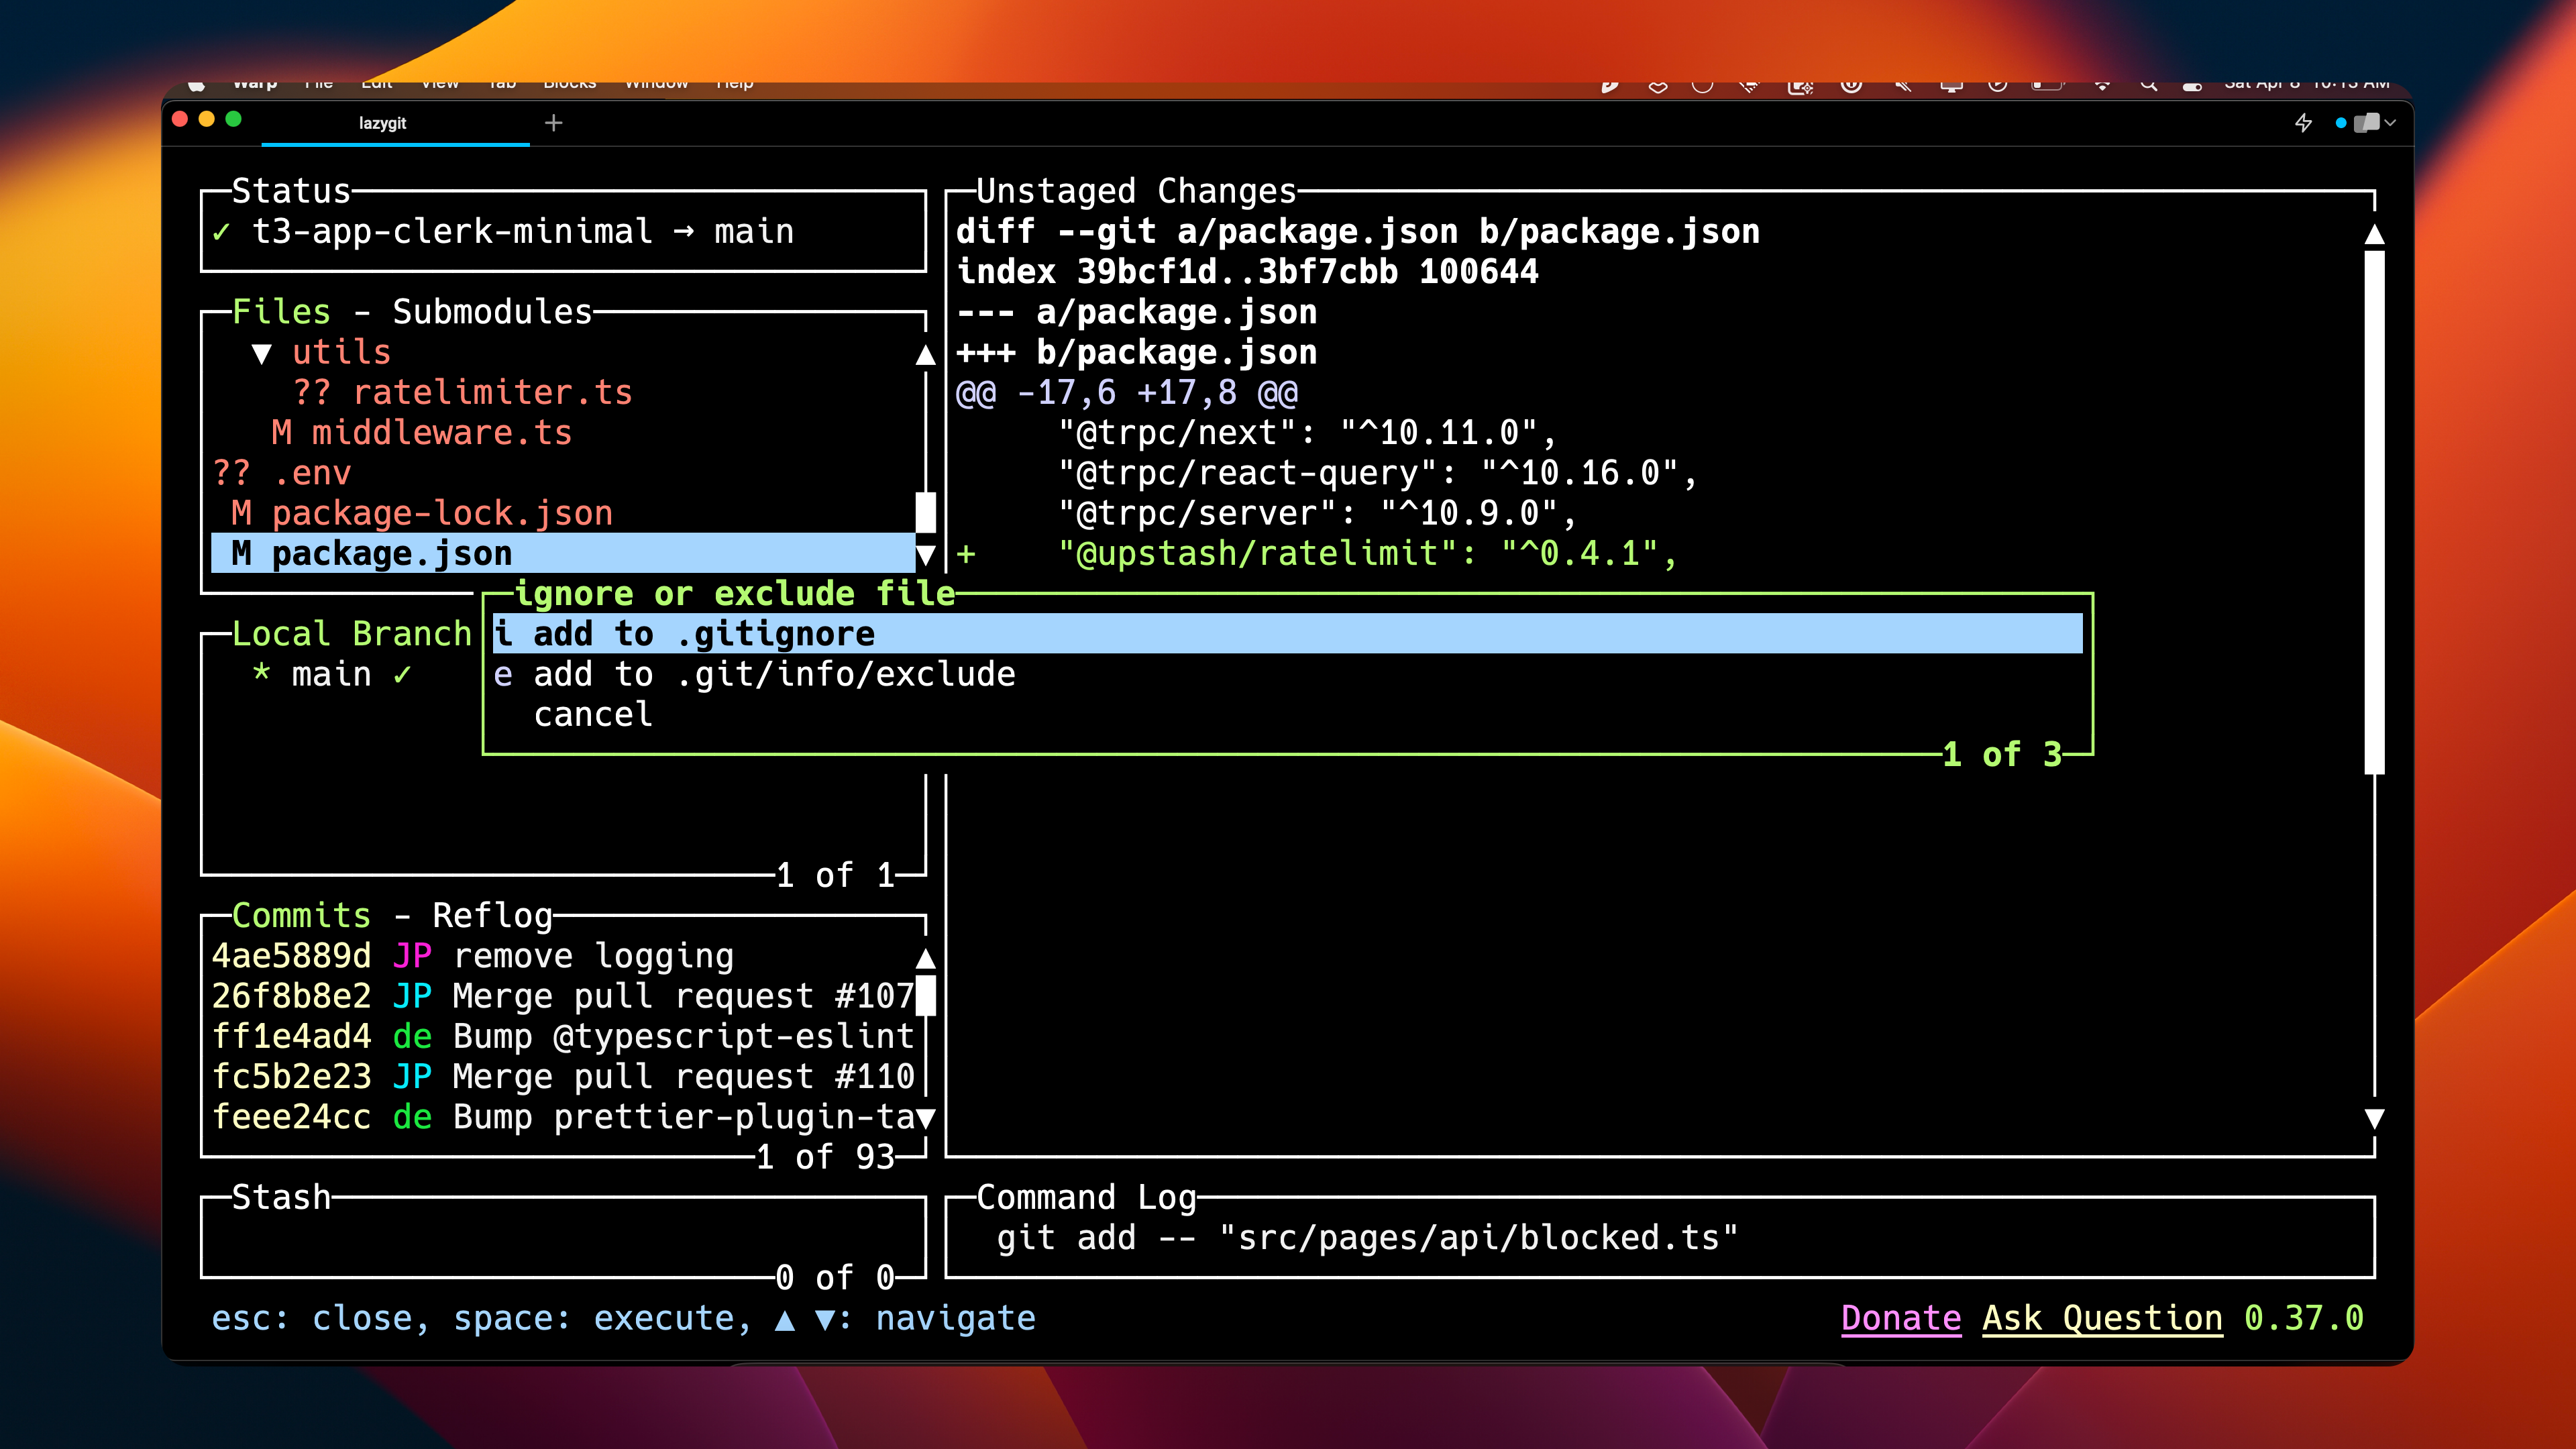
To ignore a file, press i and select whether to add it to .gitignore or .gitexclude.
Branch Management
Lazygit simplifies branch creation and management. Navigate to the branches panel by pressing 3. To create a new branch, press n. Type in the branch name and press Enter.
To push your new branch to the remote, press shift + p and provide an “add origin” message.
Conclusion: Learn Git the Lazy Way
Lazygit is an excellent tool for Git users who feel overwhelmed by the terminal or simply want to streamline their Git workflow. With simple one-key commands and an easy-to-understand interface, Lazygit eases the learning curve of terminal Git usage and allows you to break away from visual IDEs, ultimately helping you become a Git wizard.
If you’re interested in learning more about Lazygit, check out their GitHub repository.
Discussion // 0 comments
sort: oldest ↓